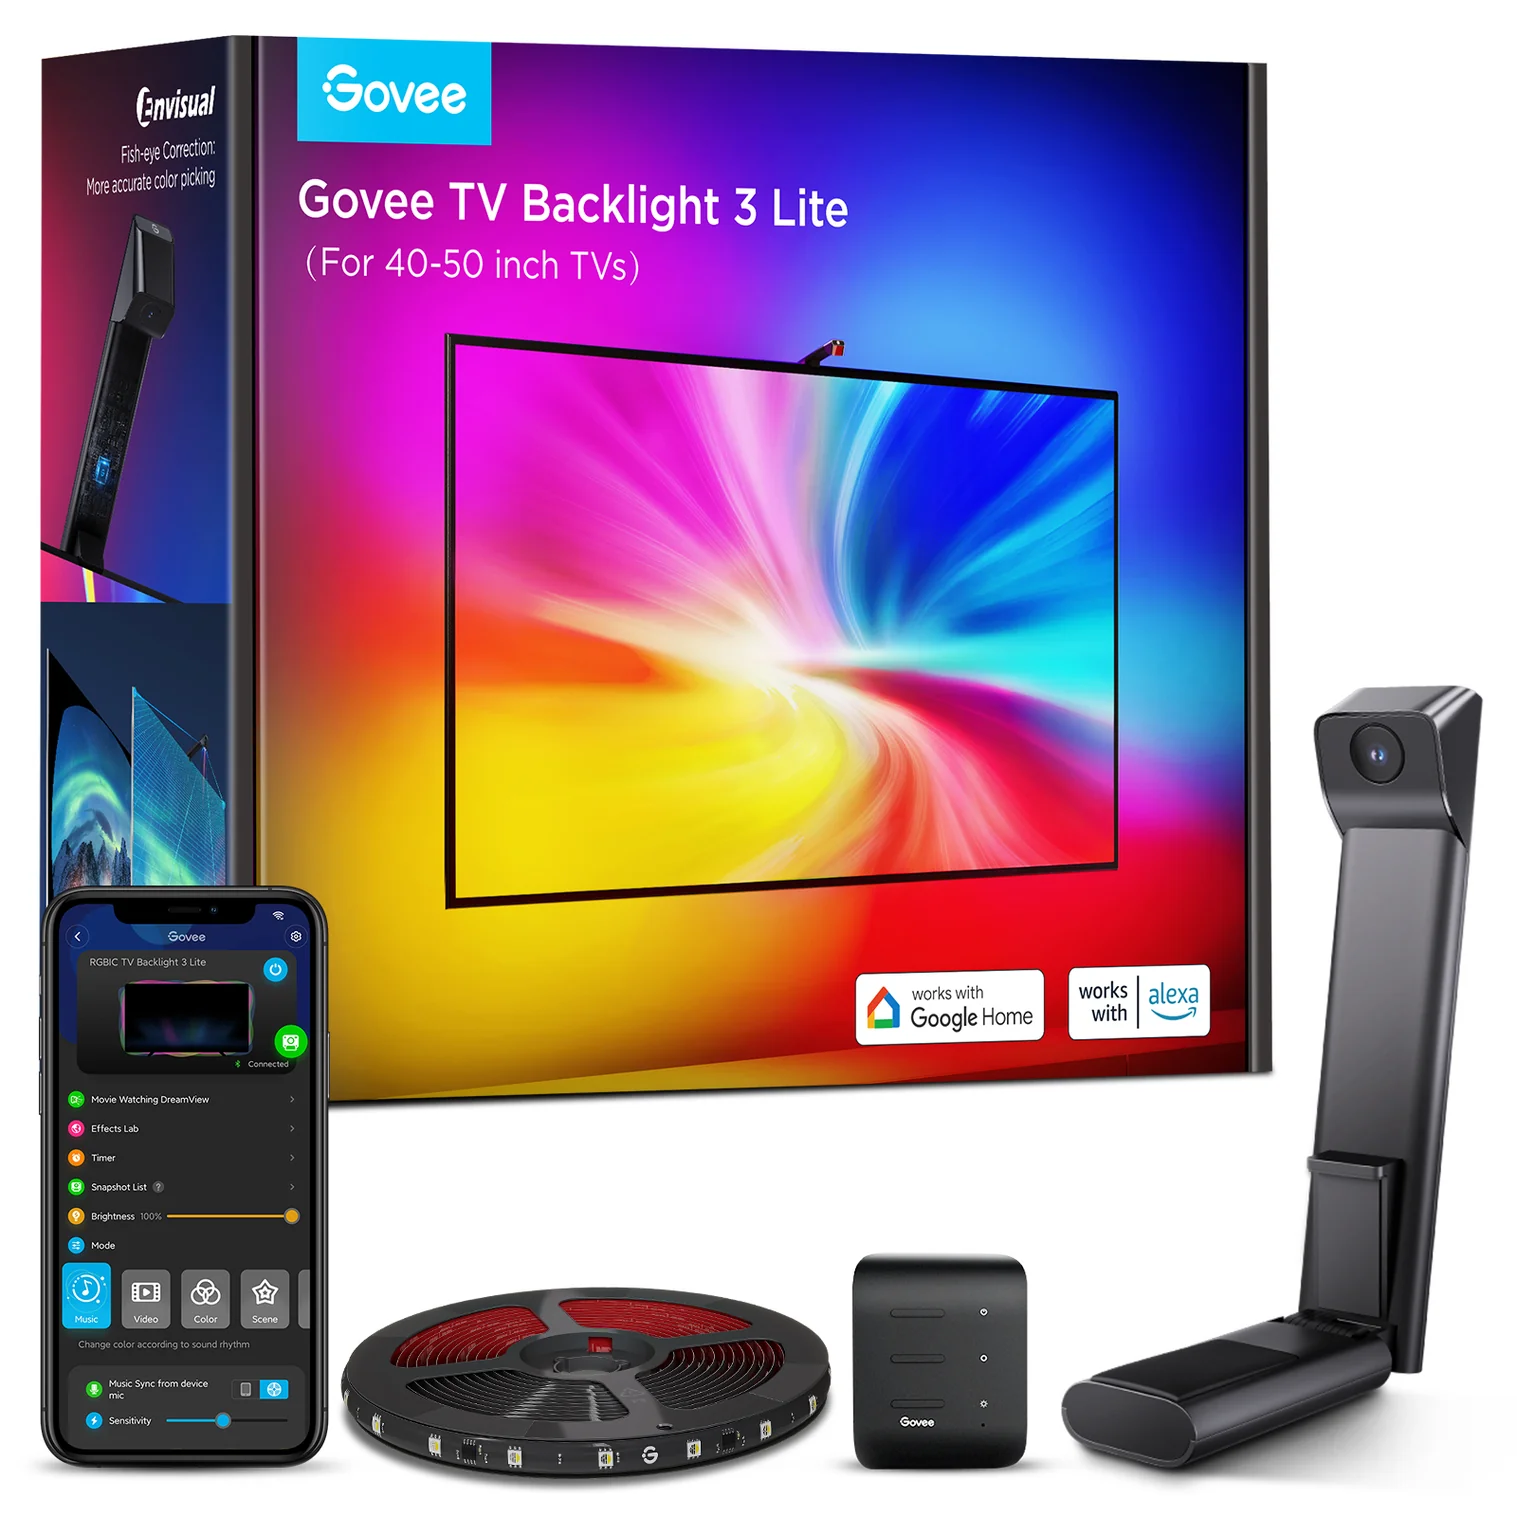
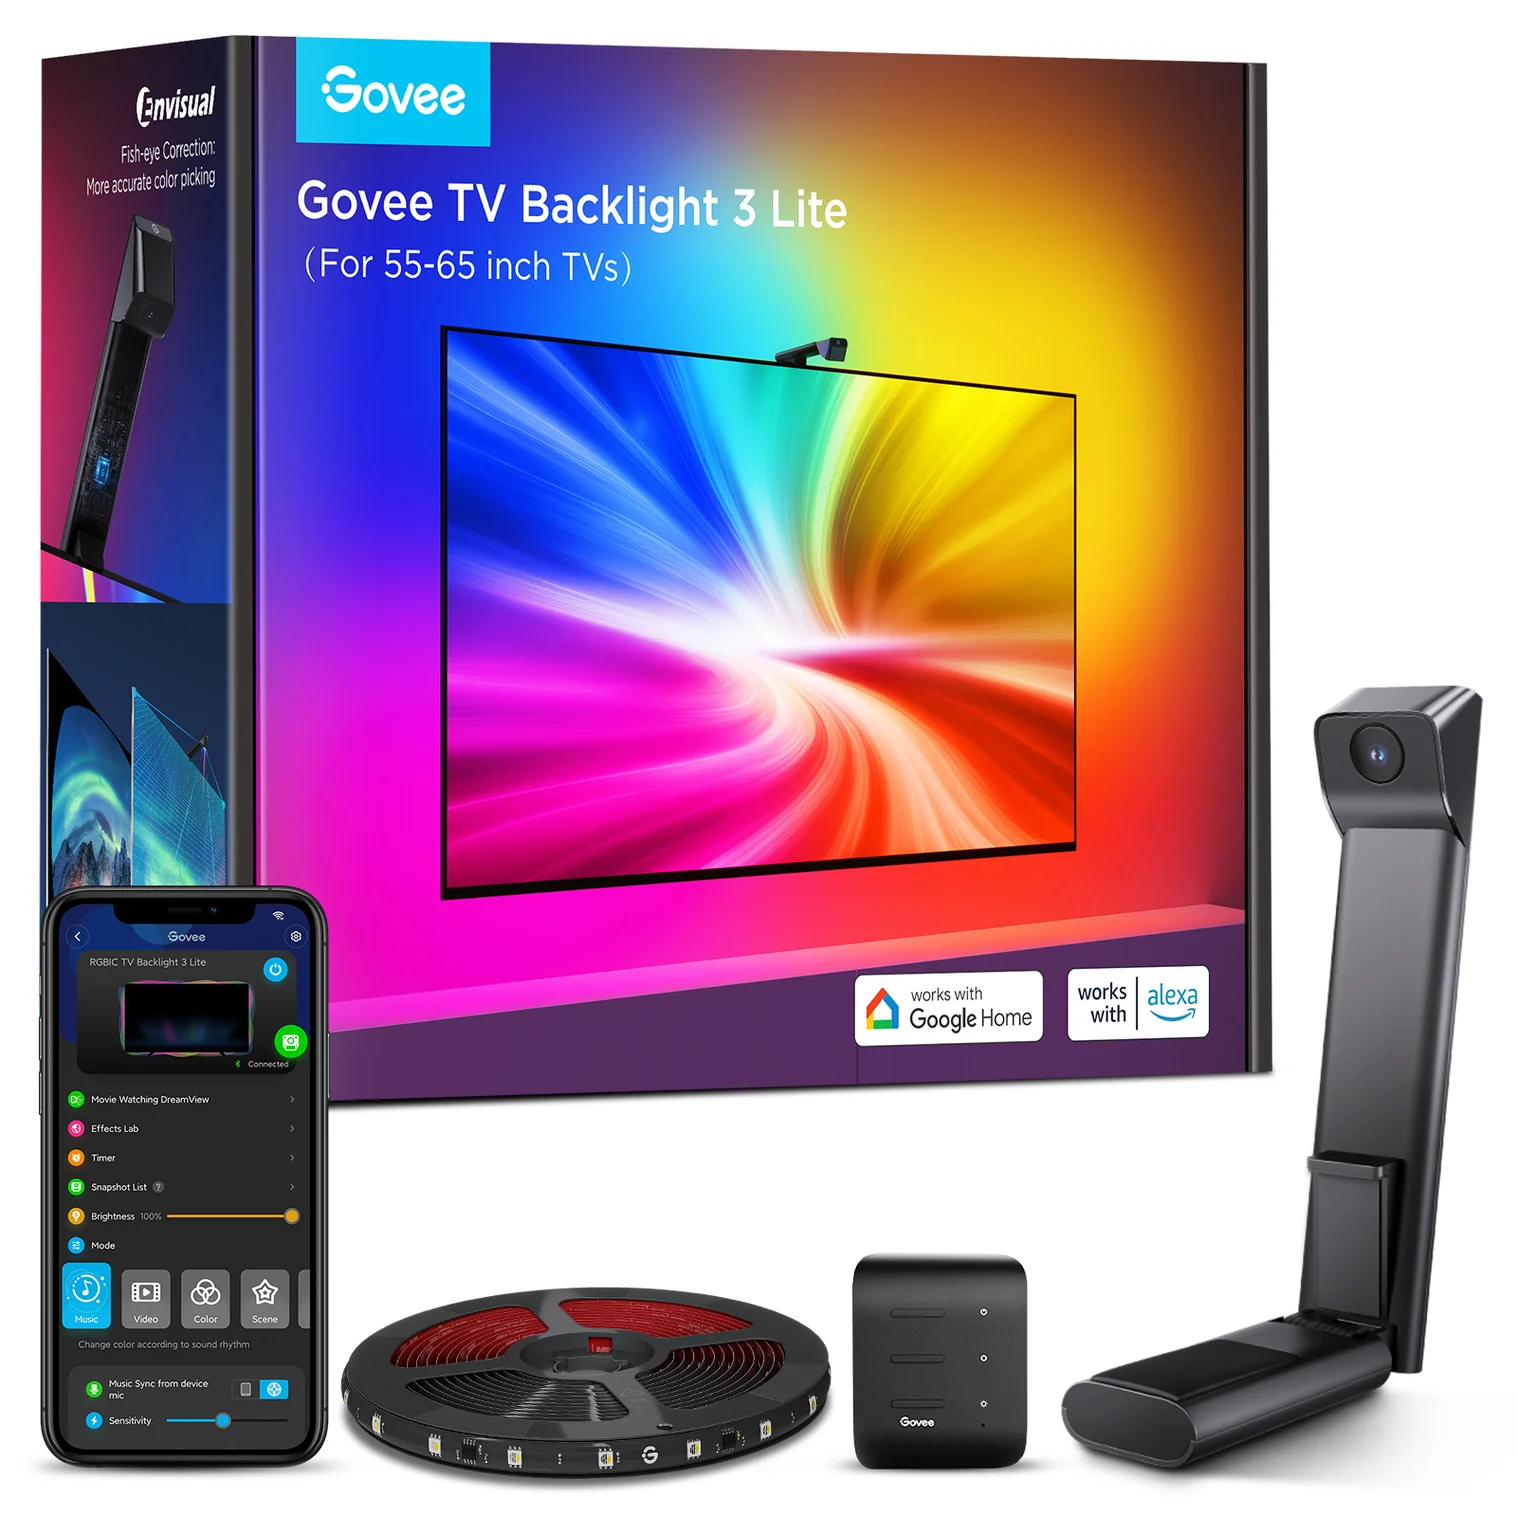
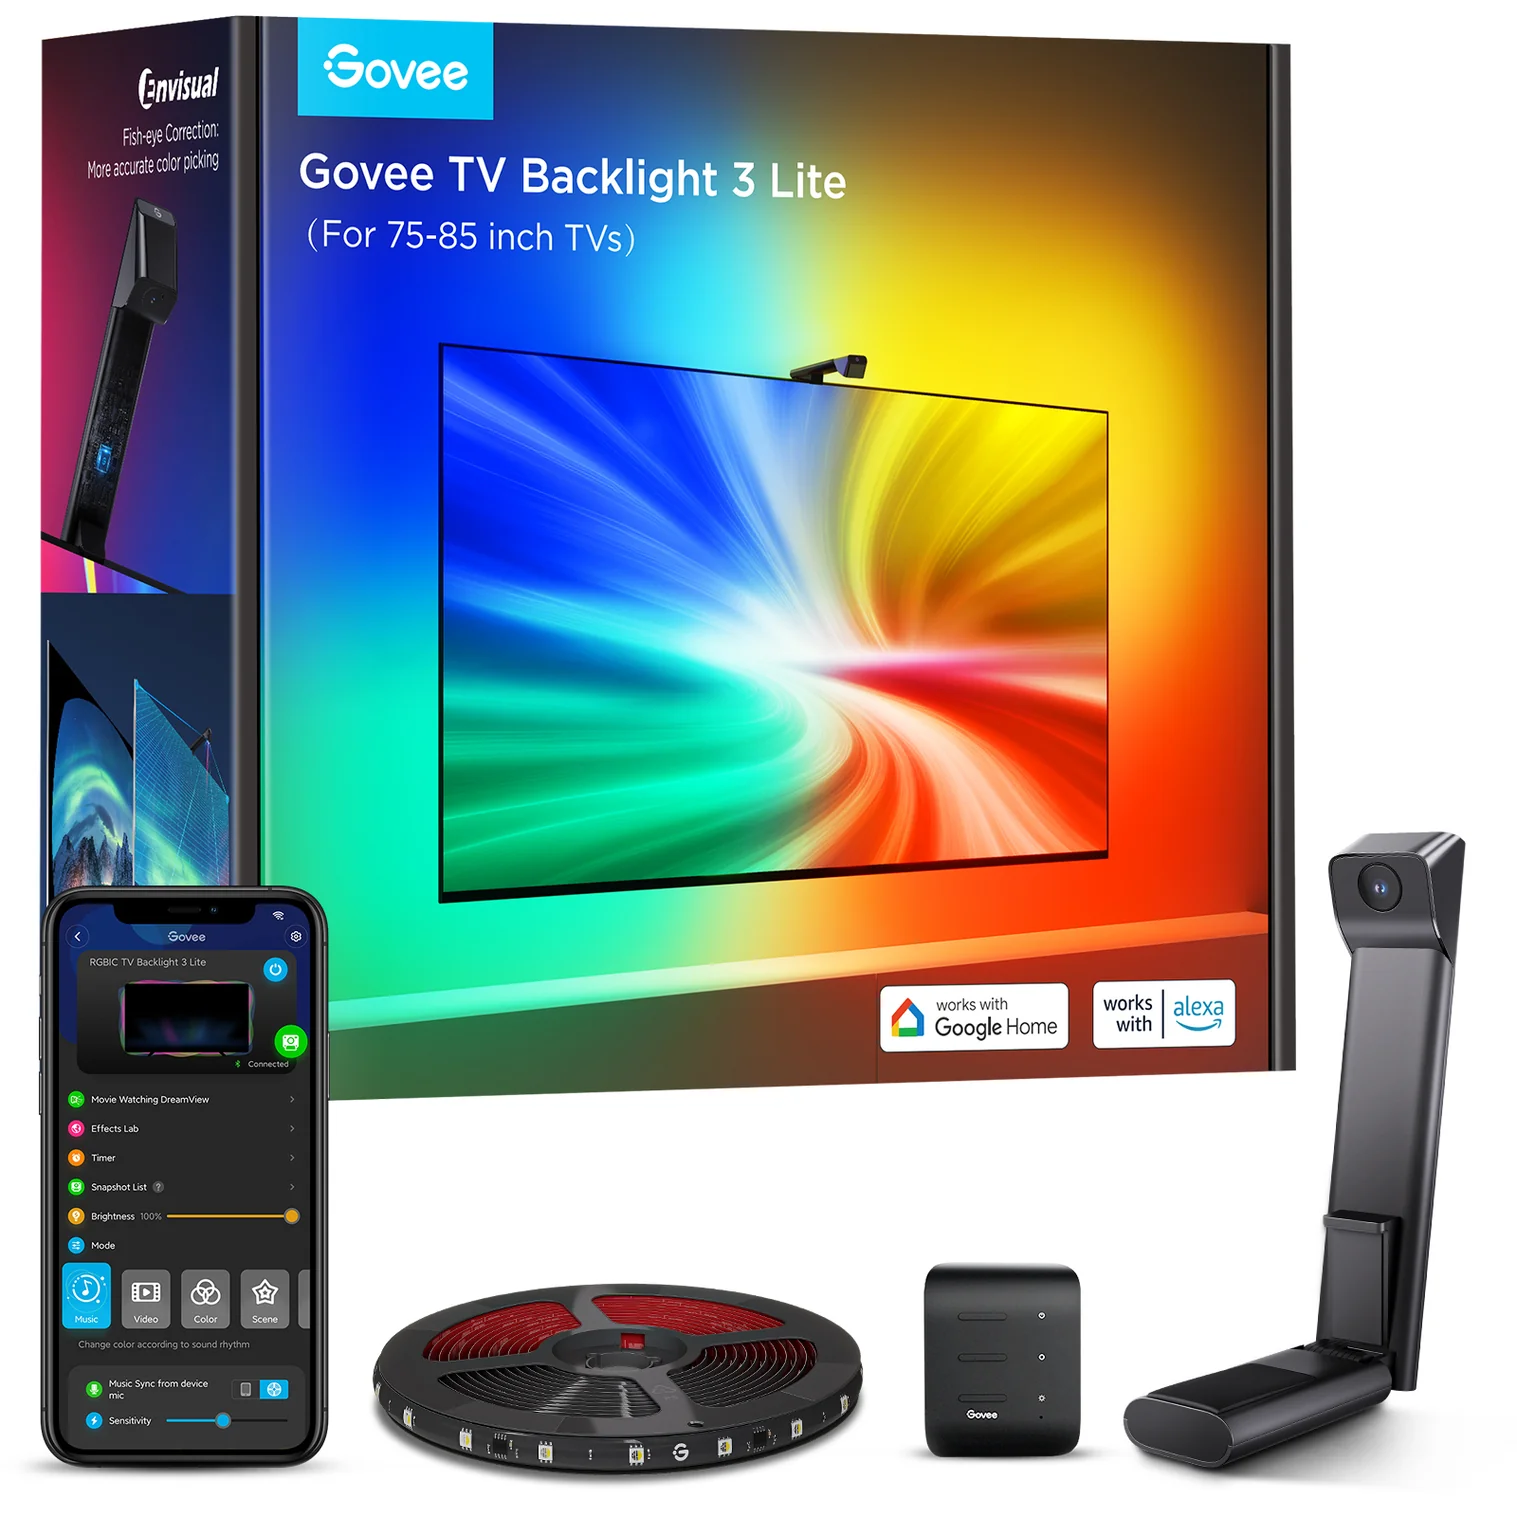
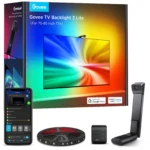
Govee TV Backlight 3 Lite – 40″-50″
Upgraded Fish-eye Correction Camera & Envisual Technology, RGBICW
Join Our Mailing List
New to our site? Join our mailing list and get 2.5% discount on your first order
R1899,00
 Or as low as R316,50 / month interest-free, using your existing credit card. For orders over R1000,00.How it works
-
Orders Over R1000 *
* Excludes large items
5-7 Working Days
Free
-
Orders Under R1000 *
* Excludes large items
5-7 Working Days
R149
-
Delivery & Returns
Payment Methods:
Description
MAIN FEATURES:
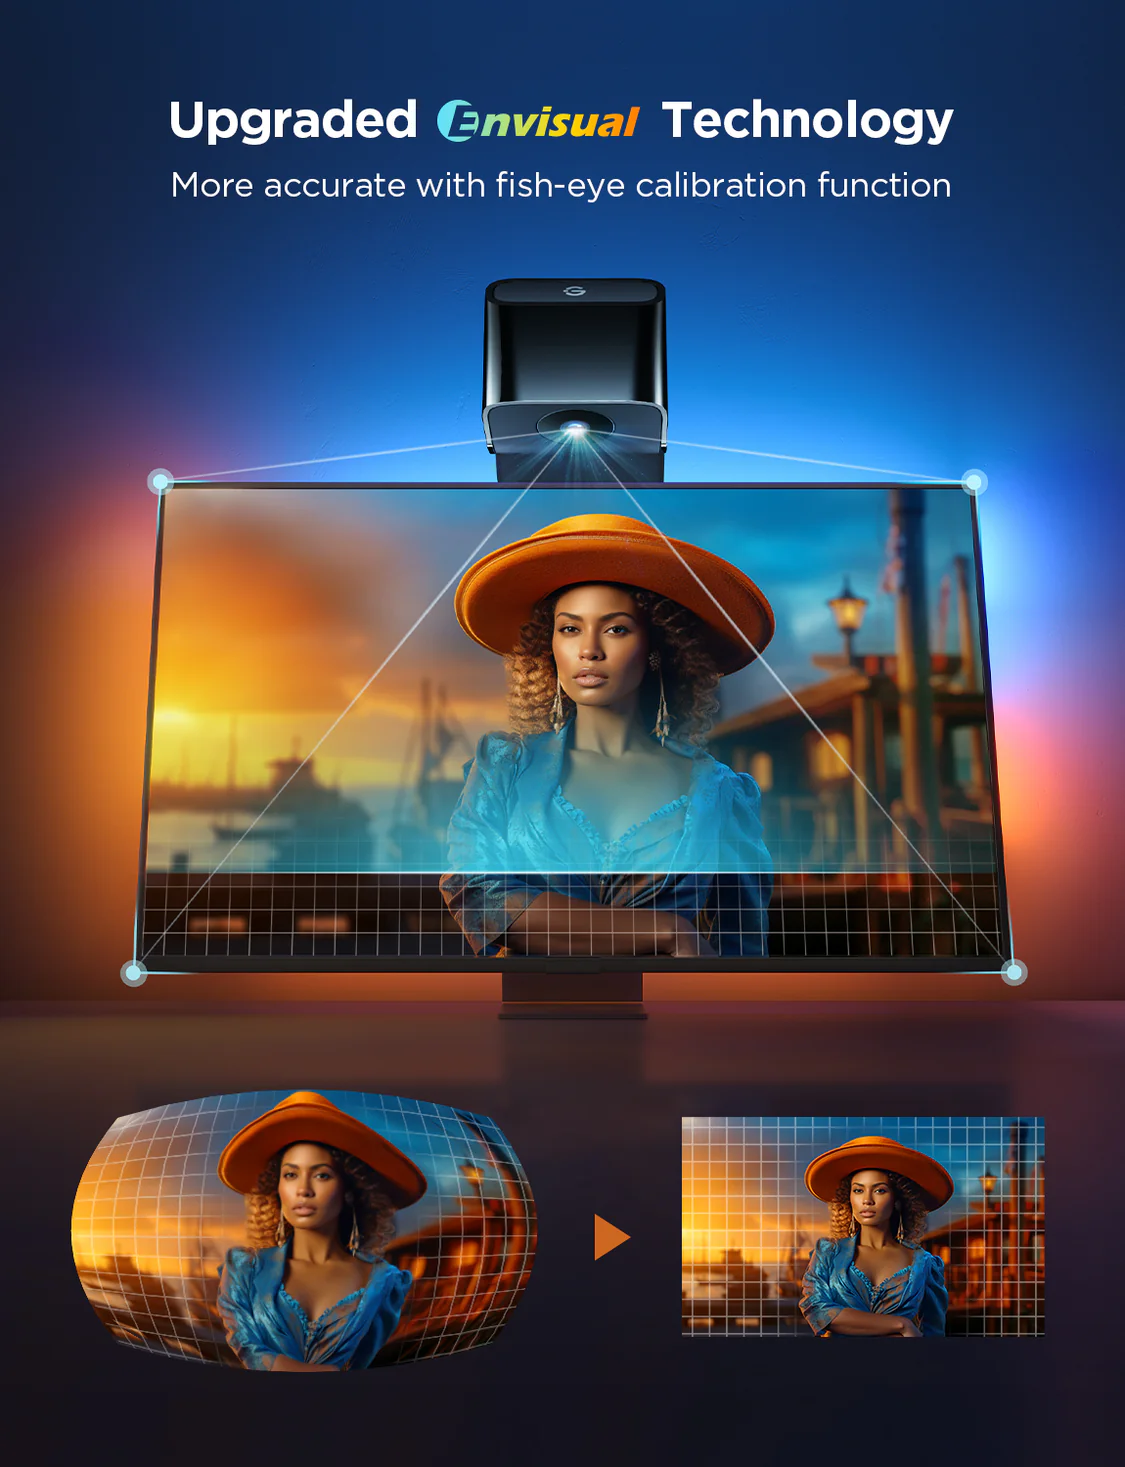
Upgraded Fish-eye Correction Camera Technology:
Corrects fisheye distortion lenses, which expands the effective color-matching range for more accurate edges.
Upgraded Govee Envisual Technology:
The upgraded Govee TV backlight with a fisheye lens correction camera has more accurate color capturing.
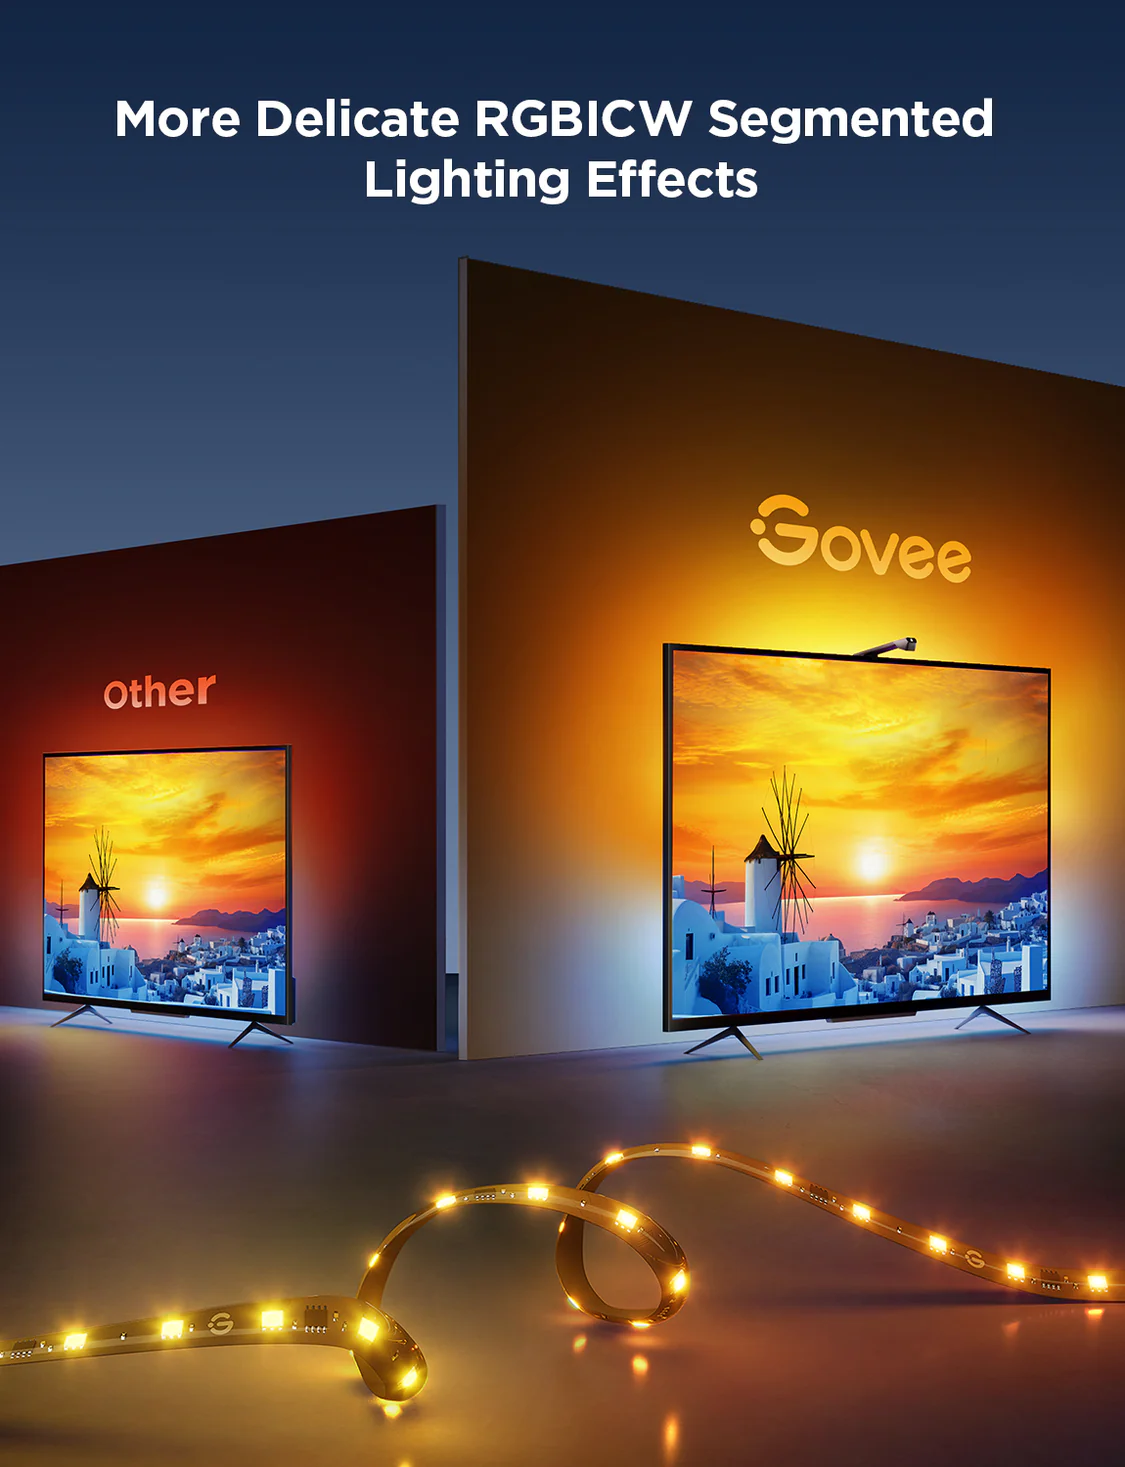
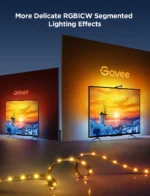
4 Colors in 1 with RGBIC+W:
These TV lights add an extra warm white chip to enhance movies and gaming.
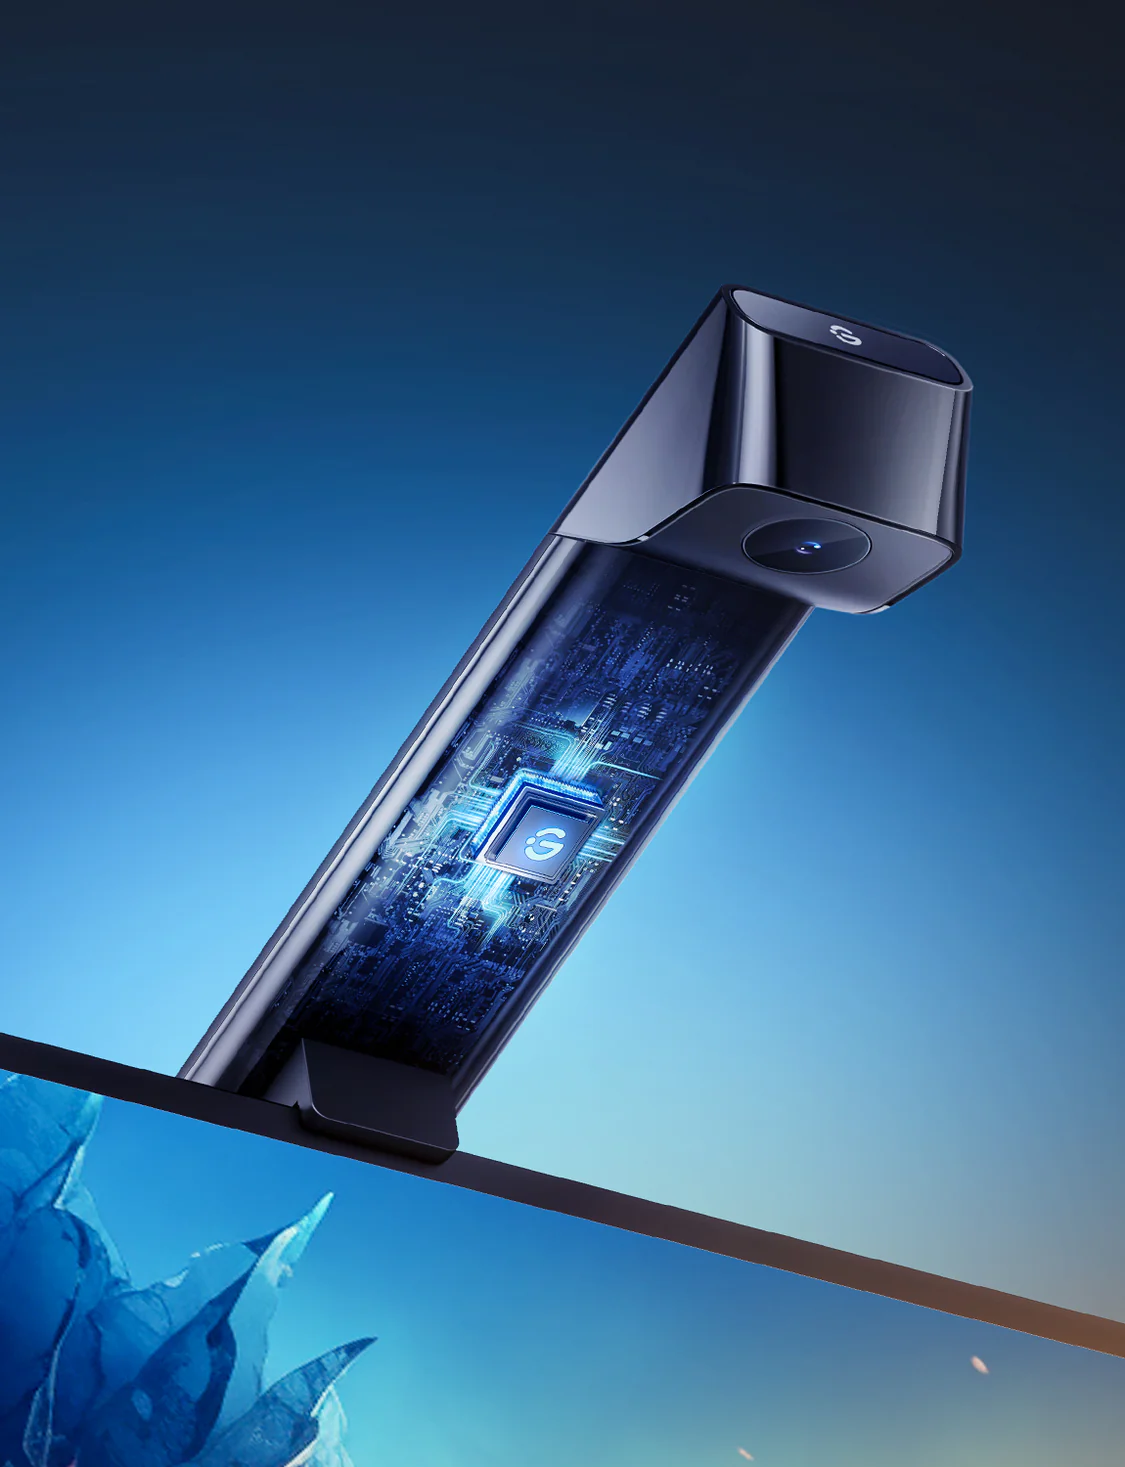
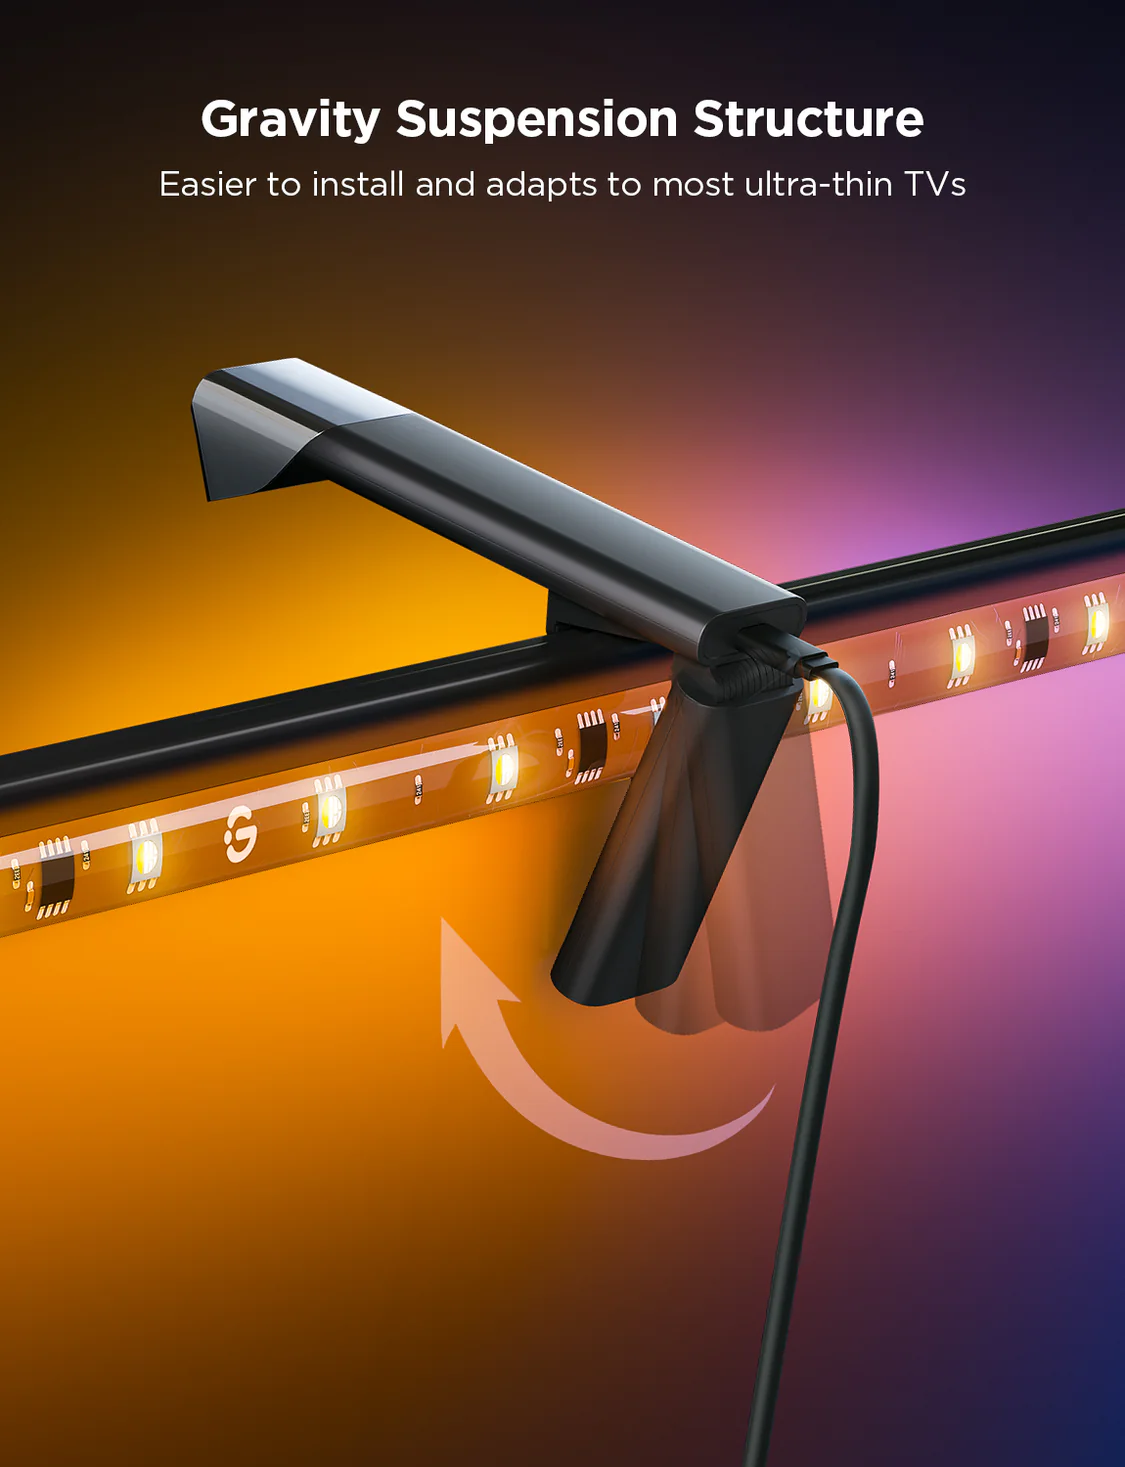
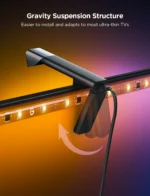
Gravitational Hanging Design for Camera:
Simplify installation and adapt for ultra-thin TVs.
Stabilize the camera without worrying about wobbling.
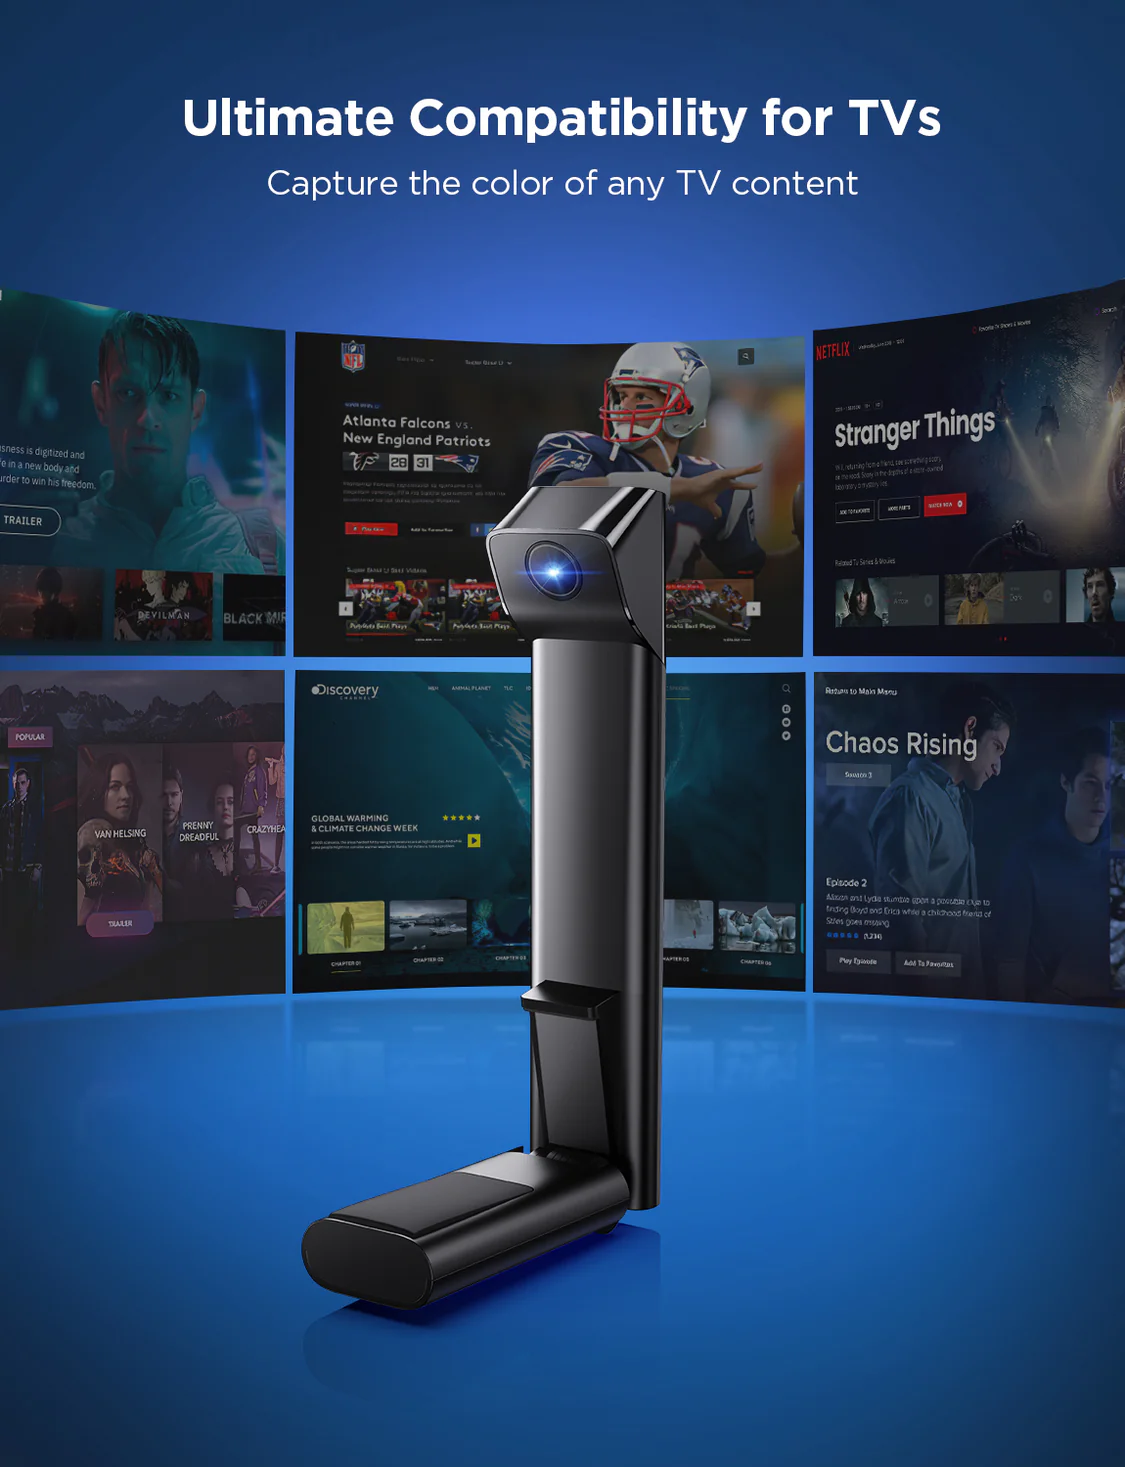
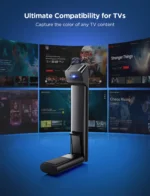
Full Compatibility for Any TV Content:
The TV Backlight 3 Lite instantly captures the color of any TV screen without compatibility issues.
Smart Activation:
Manage your TV LED strip lights with Govee Home App or voice commands via Alexa and Google Assistant.
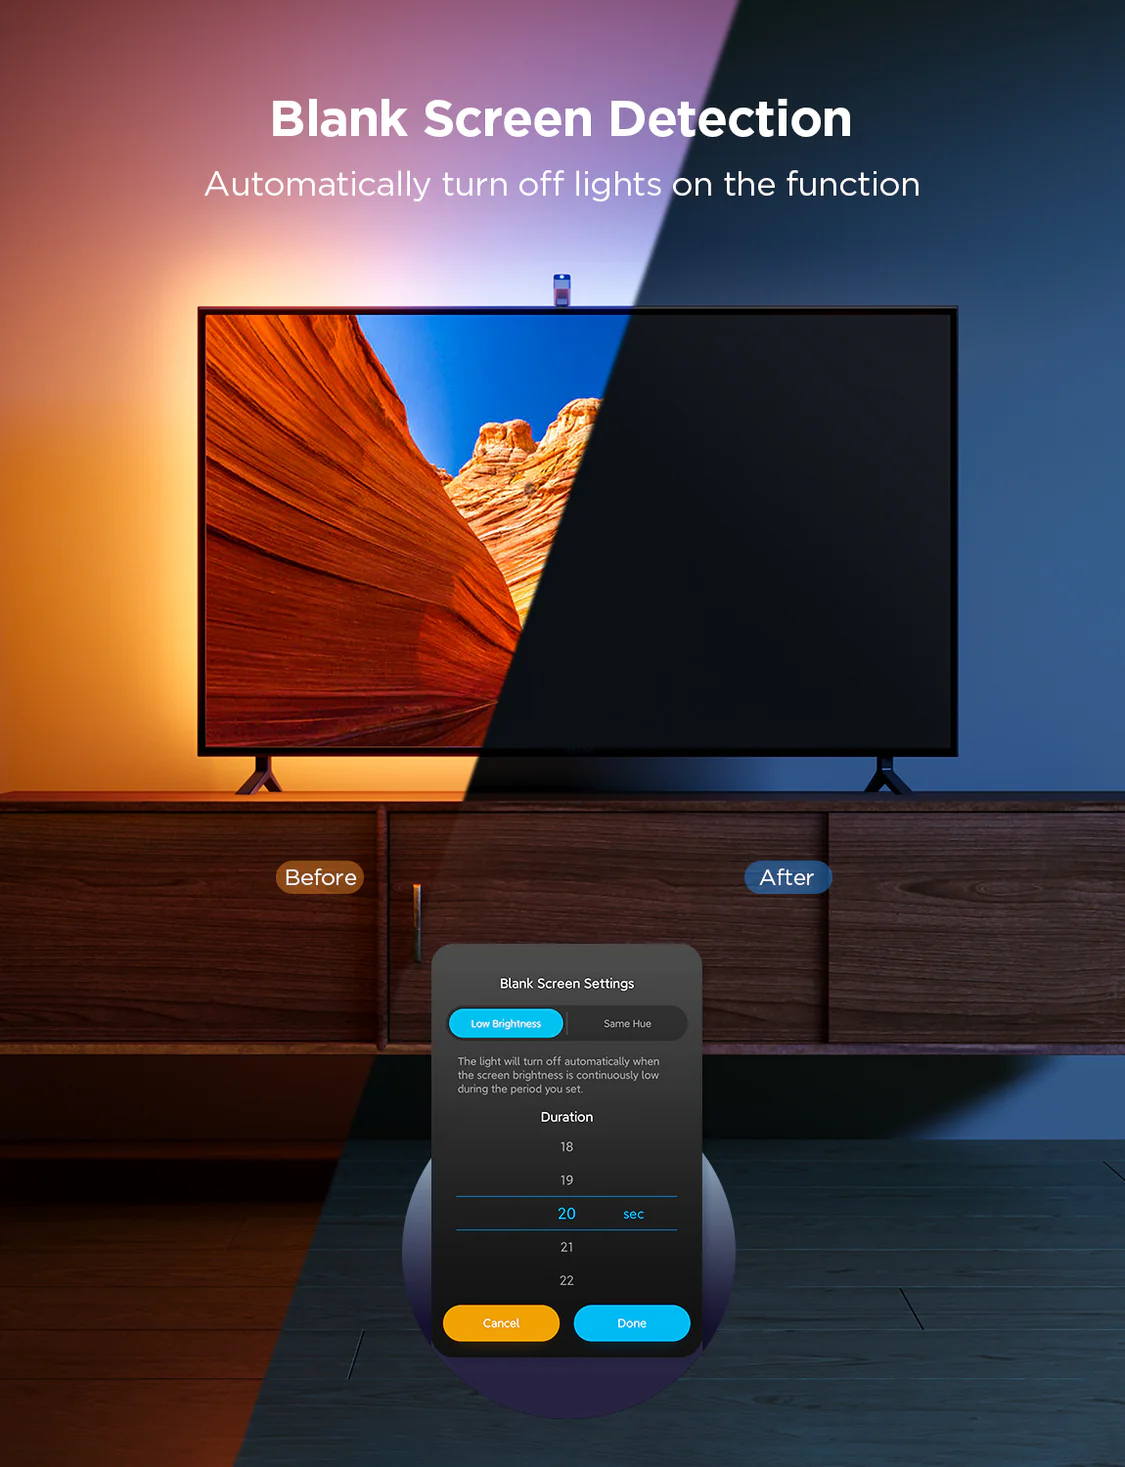
New Auxiliary App Functions:
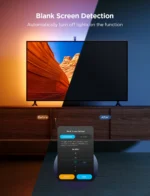
Lights turn off automatically when detecting a blank or static screen to capture colors effectively.
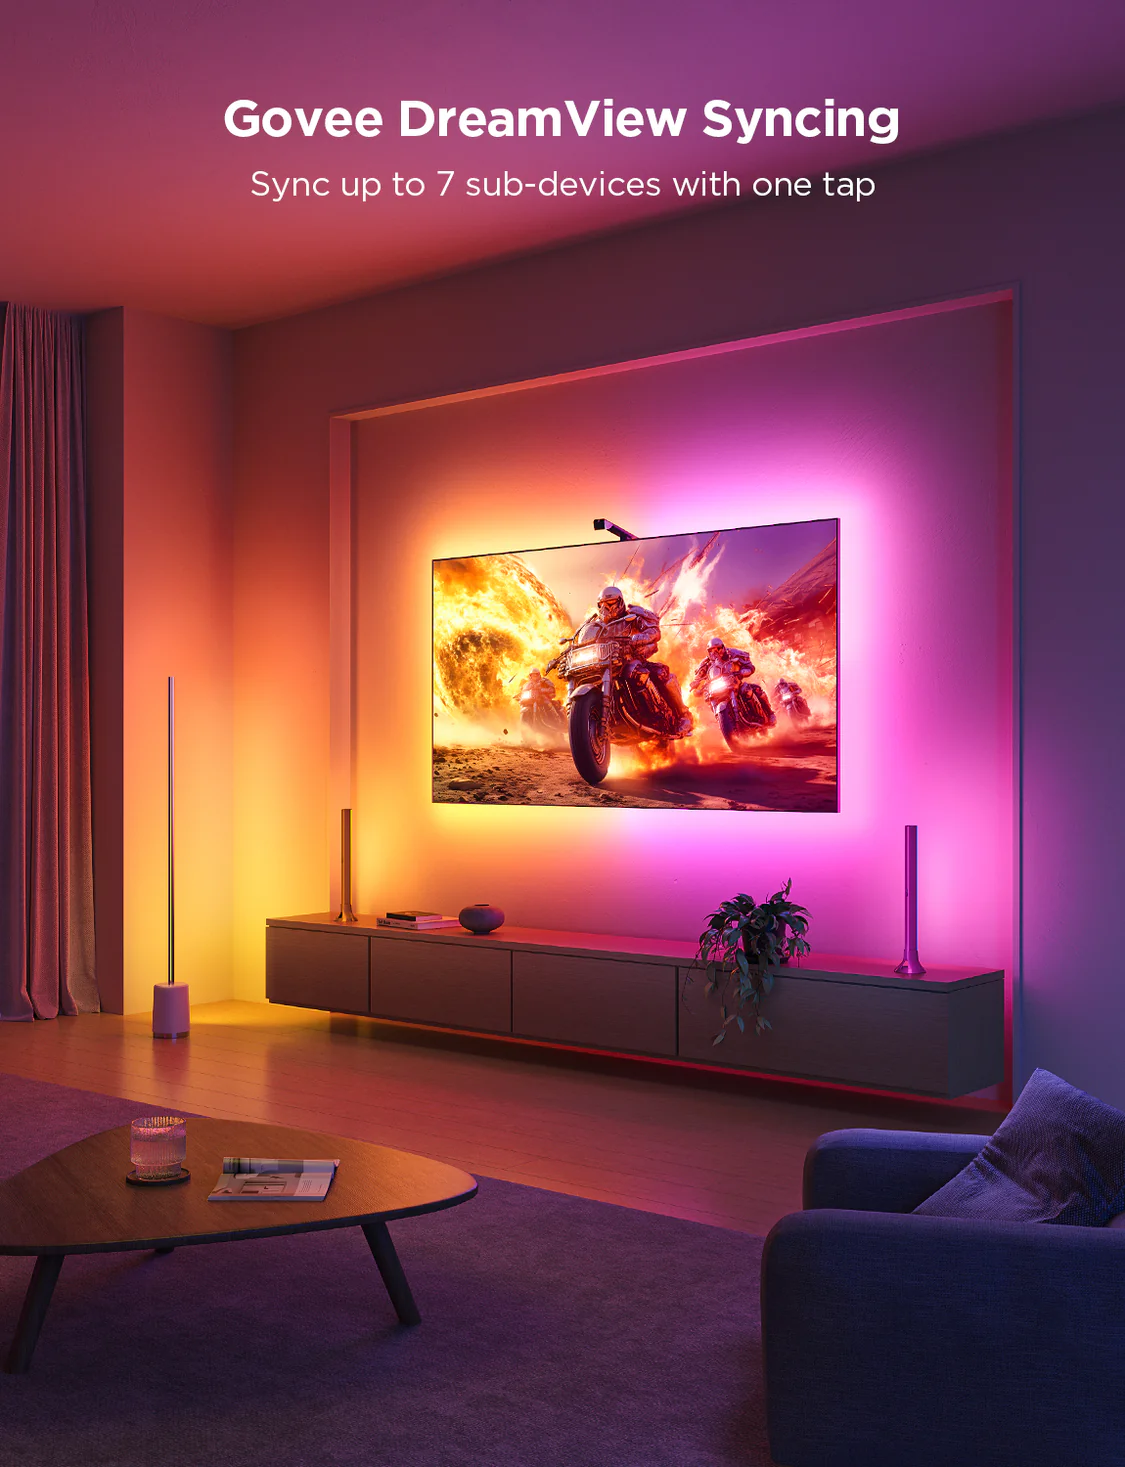
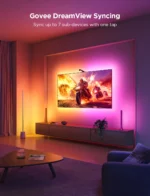
Govee DreamView Syncing:
Add up to 7 sub-devices to sync the lighting effects of the TV Backlight 3 Lite
Matter Comptible:
Supports right out of the box Apple HomeKit, Google, Amazon, Samsung.
Tips for Use:
Use a mobile phone hotspot or stay close to the router to load the calibration screen faster.
SPECIFICATIONS:
Model: H6099
Product Title: Govee TV Backlight 3 Lite
Suitable TV Sizes: 55-65 inches
Length: 3.6m/11.8ft 4 Sections
Light Colors: RGBICW
Camera: Single Camera
Lamp Beads: 30 LEDs/m
Ultra-thin TVs: Supported
Control Methods: App, Control Box, Voice Control
App Connectivity: 2.4GHz Wi-Fi + Bluetooth
Voltage: 12 Volts
Wattage: 24 Watts
Special Features: 4 in 1 LED, Fisheye Correction, 15%-20% Faster New Chip
FAQ:
Q. What is Govee’s Envisual technology? How is it integrated into the TV Backlight 3 Lite?
A. Govee’s Envisual technology revolutionizes LED backlights on TVs. Initiated in 2020 with the TV Backlight T1, Envisual uses a dual-camera system and the “zone-division capture method,” which accurately mirrors on-screen colors.
In 2022, Govee upgraded its technology for better color-matching precision.
The third-gen TV Backlight 3 Lite, featuring enhanced Envisual tech, promises an immersive RGBIC TV backlight experience elevating movie-watching to new heights.
Q. How does the Govee TV Backlight 3 Lite create a more immersive viewing experience?
A. The upgraded chip in the Govee TV Backlight 3 Lite, equipped with responsive TV backlighting, features an increase in performance and a fish-eye correction function.
A four-in-one RGBICW light bead provides the Govee TV Backlight 3 Lite with more vibrant colors, making it an ideal LED backlight for a TV that expands the contents beyond the screen.
This combination creates a visual effect that erases the border between the monitor and the wall, making the monitor appear bigger and creating a more immersive viewing experience.
Q. What is the difference between the Govee TV Backlight 3 Lite and the Govee T2 (H605C)?
A. The Govee TV Backlight T2, the flagship of the second generation, boasts a dual camera with Envisual color-matching for precise color accuracy.
With double the bead density (60 LEDs per meter), it offers a vivid mode for dynamic lighting effects.
In the third generation, the affordable Govee TV Backlight 3 Lite, featuring responsive TV backlighting, introduces the uparaded Envisual color-matching technology at 30 LEDs/m and a single camera.
Q. What is the difference between the Govee TV Backlight 3 Lite and the Govee T1 (H6199)?
A. The Govee T1 and Govee 3 Lite, both entry-level RGBIC TV backlights in the same price range, feature responsive TV backlighting.
Govee 3 Lite stands out with its upgraded chip technology, offering 20% more computational power for fish-eve correction and precise color-matching.
The RGBICW light beads enhance color accuracy and display, while the gravity-based suspension design supports ultra-thin TVs, ensuring an aesthetically pleasing entertainment experience.
With Matter compatibility, it’s a top choice for quality and design in the competitive market.
ABOUT GOVEE:
Govee is a global leading smart home brand with 12M+ App registered users since 2017, pursuing personalised and fun life experiences through continuous innovations, especially in ambient lighting, home appliance products, and smart IoT systems.
We design it. We produce it. We make life smarter.
INSTRUCTIONS:
Safety Instructions
Read and follow all the safety instructions:
Be cautious of static electricity during installation and usage. Keep the product away from sharp objects or strong corrosive chemicals.
When bending the strip light during installation, avoid folding the LED components as it may affect the product’s lifespan.
Remove nails, metal, or other conductive objects from the installation surface before attaching the strip light, as it may cause short-circuiting.
Do not install the strip light near any heat sources.
Do not allow children to install the strip light alone.
Avoid installing the strip light near potentially dangerous sources (e.g., candles, liquid-filled objects).
Controls:
On/Off Button: Press to turn on/off.
Color Button: Press to adjust the color.
Music Button: Press to enter Music Mode.
Dimmer Button: Long press to adjust the brightness.
Indicator LightL
a. A red light indicates the device is not connected to the network.
b. A blue light indicates the device has successfully connected to the network.
c. No light indicates the device is not powered on or malfunctioning.
Installing Your Device
Preparation Before Installing:
a. Unbox the strip light and check all items listed in the packing list.
b. Power on the strip light and check whether it lights up.
Installing Steps:
a. Wipe the installation surface to ensure it is dry and clean.
b. Stick the strip light to the back of the TV. Press it firmly and then reinforce it with the provided clips.
c. Position the camera to the top center of the TV. Make sure that the TV’s top edge fits to the right angle at the end of the front half of the camera.
d. Insert the cable of the strip light and the camera into the control box. (Type-C/DC)
e. Ensure that the control box is in a proper position near your TV.
f. Power on the strip light and try connecting it with Govee Home App.
Pairing Your Device with Govee Home App
What you need:
A Wi-Fi router supporting the 2.4GHz and 802.11 b/g/n bands. 5GHz is not supported.
1. Download Govee Home App from the App Store (iOS devices) or Google Play (Android devices).
2. Turn on your smartphone’s Bluetooth.
3. Open the app, tap the “+” icon in the top right corner and search “H6099.”
4. Tap the device icon and follow the on-screen instructions to complete pairing.
Calibrating the Camera with Govee Home App
1. Mount the camera to the center of the screen.
2. Stick the foam stickers to the 7 calibration points on the screen.
3. Open Govee Home App, go to the details page, then tap Calibration. Begin the calibration by following the instructions.
Tips:
a. Drag the seven calibration points to the position points.
b. The picture will distort under the fish-eye camera. Make sure the calibration points are chosen correctly and the calibration line do not overlap or cross each other or drag the line outside the screen. After that, the chip will automatically calibrate the fish-eye picture and capture the colors.
Controlling the Device with Your Voice
1. Open the app, then tap the device icon to enter the details page.
2. Tap the settings icon in the top right corner.
3, Select User Guide and follow the on-screen instructions to control the device using your voice.
Troubleshooting
1. The strip light does not light up.
Check all wired connections. Unplug and replug the power adapter and the DC port to ensure the control box powers on correctly. The strip light will light up 10s after being powered on.
Check the wired connections for the strip light and the camera.
If you unplugged the strip light, reboot the power adapter after the light is working correctly.
2. Calibration failed.
Calibrate the strip light again.
Make sure no other strong lights are affecting the camera.
Calibration points must be chosen correctly. For example, the top calibration point on your TV cannot be dragged to the bottom. The calibration lines cannot overlap or cross each other.
Calibration can only begin after the strip light is successfully connected to Wi-Fi
3. The provided strip light’s adhesive don’t stick well.
Wipe the installation surface to ensure it is dry and clean.
When attaching the strip light, make sure you press down firmly.
Reinforce the strip light with the provided clips or other strong adhesives.
4. Calibration and picture upload failure.
With your smartphone, check whether the Wi-Fi connection is stable.
5. Wi-Fi connection failure.
Do not skip the Wi-Fi connection during setup. Ensure you input the correct Wi-Fi name and password according to the app’s instructions.
5GHz Wi-Fi is not supported. Connect the strip light to a 2.4G Wi-Fi band the reboot your router.
With your smartphone, check whether the Wi-Fi connection is stable.
The strip light is not compatible with the Wi-Fi name or password. Please change the Wi-Fi name and password.
The strip light is not compatible with your router. Please try to connect your strip light to a smartphone hotspot.
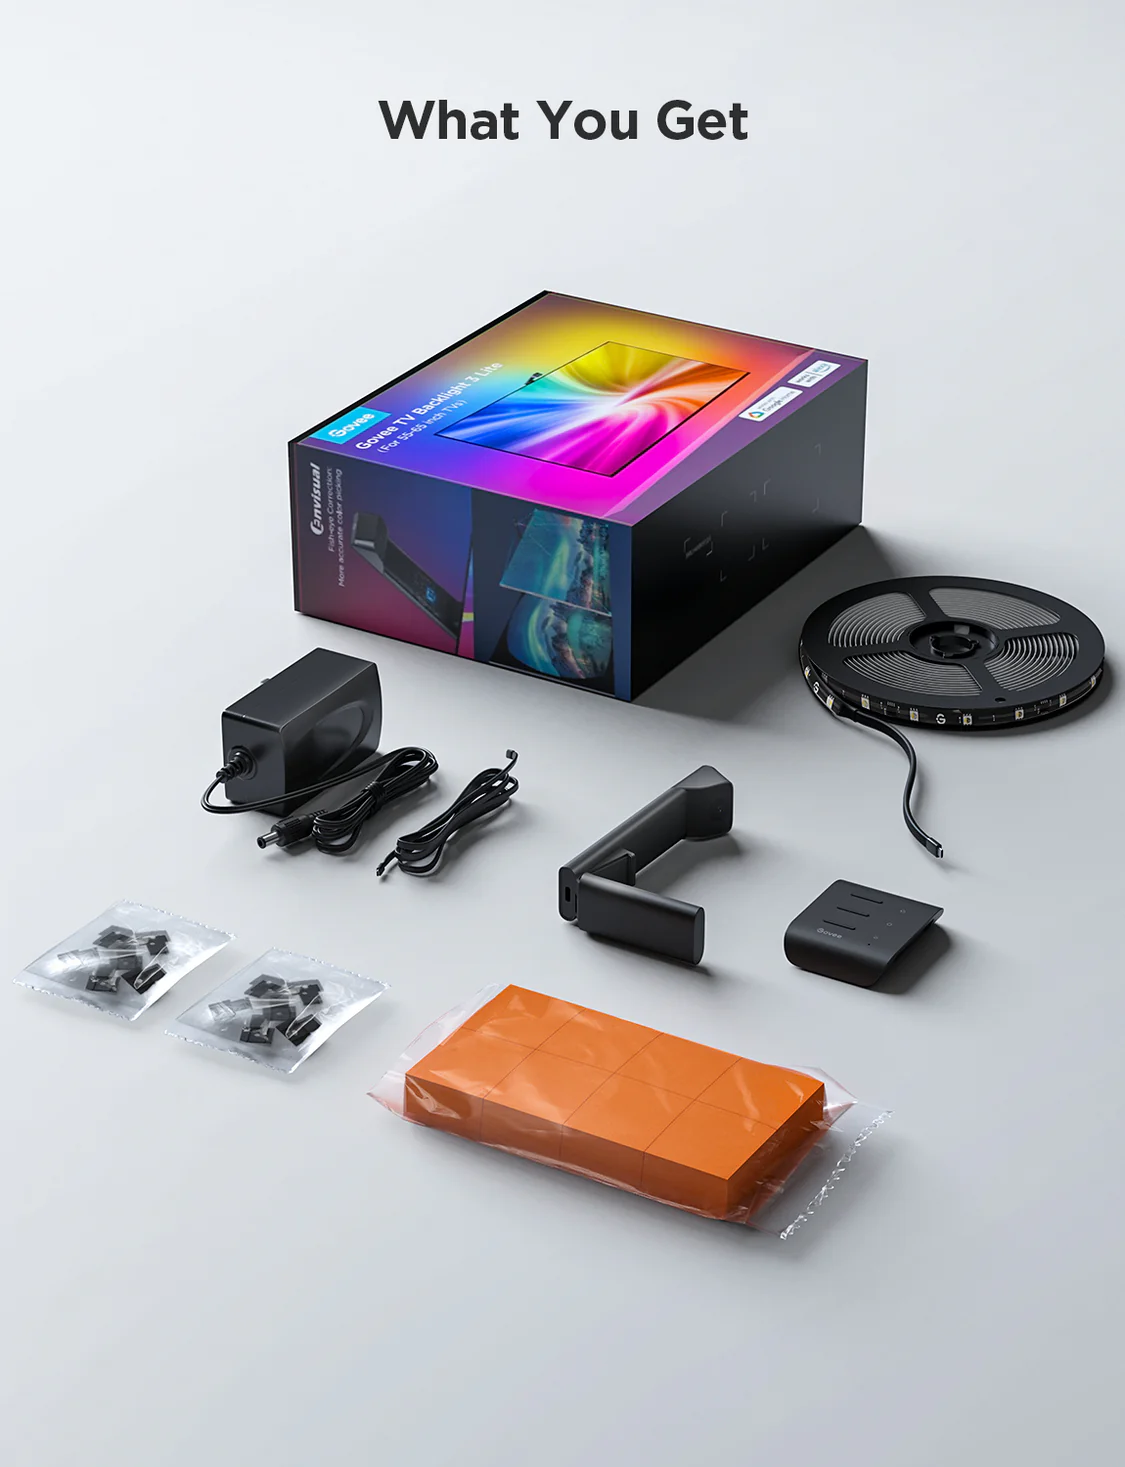
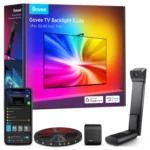
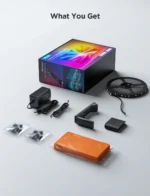
What’s in the box
- 1x LED Strip Light
- 1x Adapter
- 1x Control Box
- 1x Camera
- 1x User Manual
Specification
 Overview
 General
Customer Reviews
Only logged in customers who have purchased this product may leave a review.




Reviews
Clear filtersThere are no reviews yet.